Intro to Sound

Sounds that you import into Unreal MUST be WAV format, 16-bit PCM. As far as I know no other format is accepted. Luckily in Audacity (free and open source) it is very easy to convert any type of sound. Here I am exporting a FLAC file that I downloaded from www.freesound.org into a WAV.

Screen Shot 2016-05-26 at 12.55.56 PM

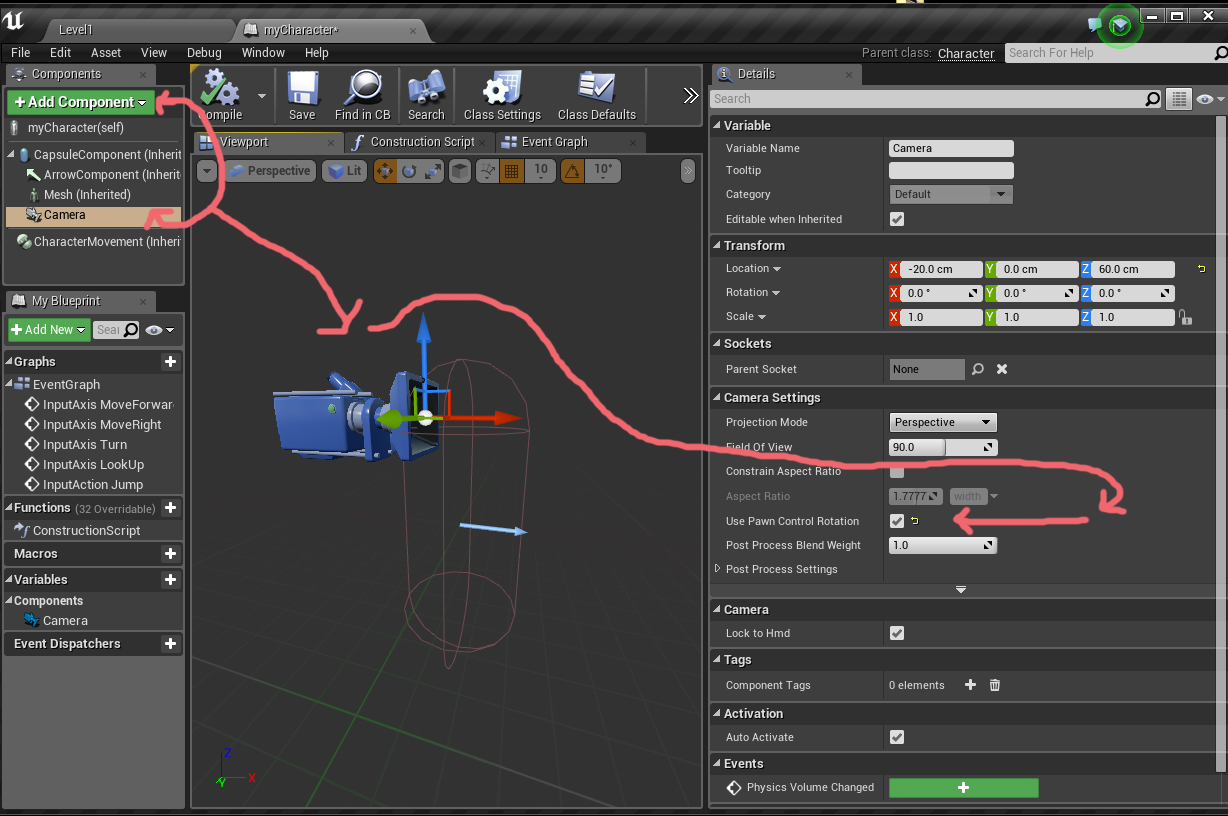
When you import a sound in Unreal it is called a Sound Wave. If you want to be able to do things with it, you create a Sound Cue from the Wave. You can do that by right clicking on the Wave file and clicking “Create Cue”

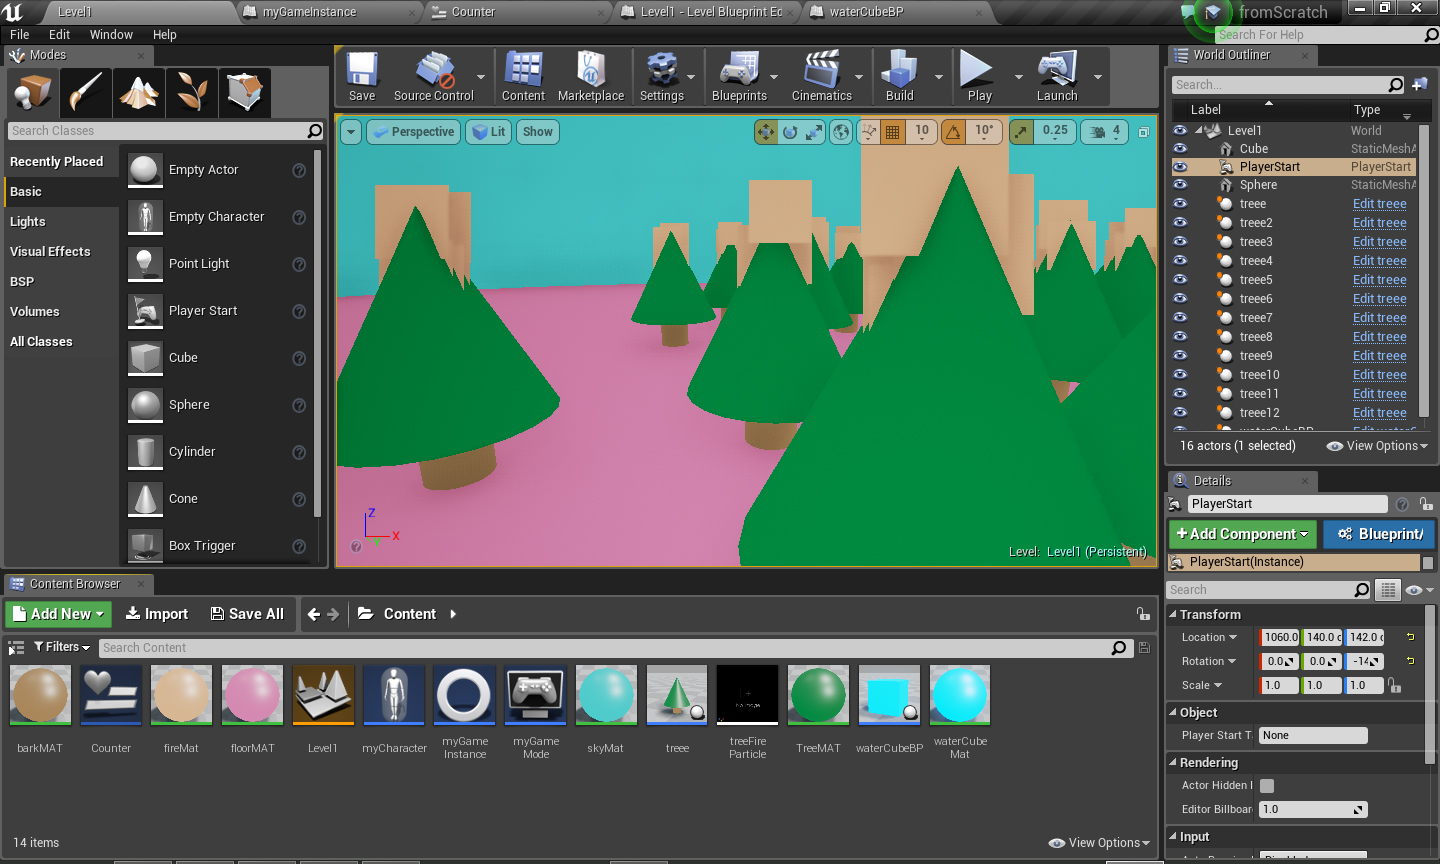
The two main types of sound in a game are atmospheric sounds and sound FX.

Screen Shot 2016-05-26 at 12.59.59 PM

First I am making an atmospheric sound. By clicking on the Output node of the Sound Cue I can adjust the attenuation settings of the sound (the range, how far a player can hear it for)

Screen Shot 2016-05-26 at 12.54.56 PM

Also importantly I need this sound to loop. I click on the Sound Wave node and click Loop on the left hand side (you can’t see too well because of the comment window over the loop boolean).

Screen Shot 2016-05-26 at 12.55.11 PM

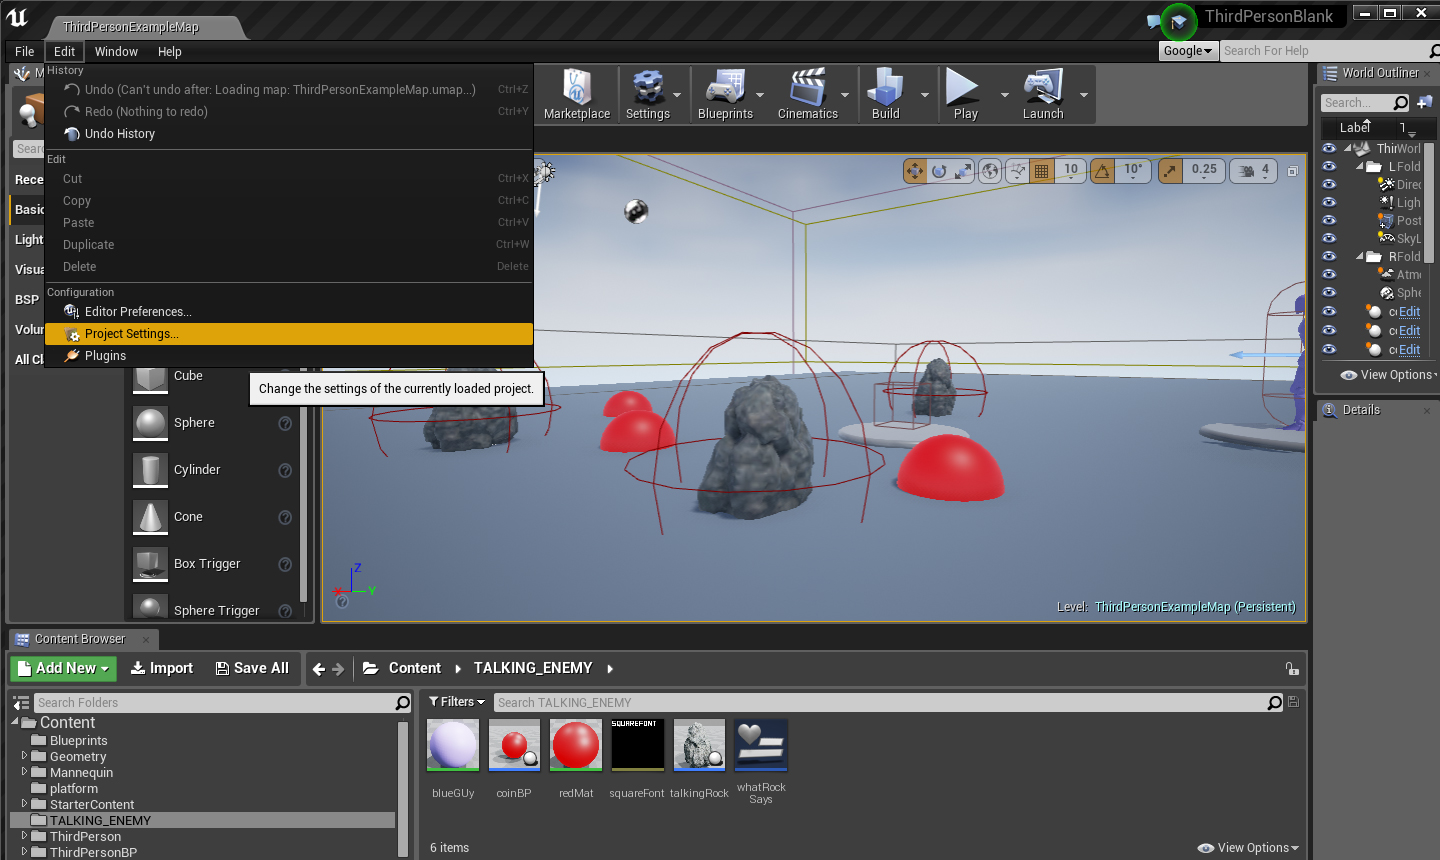
Then I just drag the Sound Cue into the level. Here you can see the attenuation. Only when the player steps into that sphere will it hear the atmospheric sound. And it gets louder as the player approaches the center.

Screen Shot 2016-05-26 at 1.05.49 PM

For Sound FX you usually want quick sounds that do not loop. Here I am putting together three jump sounds from freesound.org and putting them through a random node. That way when my player jumps it’s a different sound each time. This could be useful for a lot of things such as an NPC who screams something different each time the player is near, explosions that sound a bit different each time, etc.

Screen Shot 2016-05-26 at 12.53.26 PM

Then to play the sound in Blueprints I just do a “Play Sound at Location” node every time the Jump action is executed.

Screen Shot 2016-05-26 at 12.52.20 PM

Editing Post Process Volumes in Blueprints

You can use PostProcessVolumes in any blueprint to quickly change the color of the screen. For example, if your player gets injured you can flash a red tint to the screen. If your player discovers an item, everything can glow, etc. The possibilities are large. Her I’m using a PostProcessVolume in the level blueprint to fade the level in when the player begins. I got the settings from it and from there typed Set members and when selecting that node, clicked on the settings I wanted to set. Then in the timeline I made a color that went from black to white.

If you want to change screen color outside of the level blueprint, just add a PostProcessVolume to the blueprint and click “unbound” and then you can edit it the same way.

pp_tricks

Some things to do with the counter

For this mini-game you have to run around a burning forest and find a water cube to put out the fire before it’s too late.

1

Here is the tree actor blueprint class. Nothing here except a few shapes and a super simple particle system.2

Here is the water cube with a sphere collision so when the player runs into it, something happens.3

What happens is this blueprint clasts to the gameInstance blueprint and tells the game the player has found the bucket (by setting the boolean FoundBucket? to true) and then destroys the bucket.4

Here is a flashing material I set up for the bucket. I took a Time node and connected it to a Cosine to get a pulse.

5

Here are the variables in my GameInstance:

6

Here is the level widget with the countdown and some text to tell the player what to do.

7

For the instruction text I made two variables. One was an array with three different things that could be said. The other is called Display Text and I pull from the array using “Get” and set display text with that in the level blueprint. Then in the widget I just cast to the game instance to run the display text variable through it.8

Here is where I show the time in the widget blueprint:

9

The most work is in the level blueprint (these next two images). Here is the setup on the BeginPlay. I’m just getting references to the widget and game instance and also setting the text I want to display first.

10

This is on the EventTick in the level blueprint. I am always checking if the water bucket has been found. Once it has, I put out the fire and display some different text. Also I hide the timer. If the bucket is not found, I keep counting until 0. Once it hits 0, the trees are destroyed and replaced by just fire.

11


Link to pt 1 of the lesson: https://youtu.be/OnqfZEBDnhY

Link to part 2: https://youtu.be/GCq39VmqhP0


Get all Actors of Class

Whenever you need to find actors in a level you need to use the get all actors of class node in Blueprints. Usually this is done on a one time event. Do not do this on a tick unless you use the DoOnce node.

Here I am using Get All Actors of Class in the level blueprint. If I press ‘J’ it finds all the plant blueprints I have and destroys them. If I hit ‘K’ it finds every Tree Blueprint, goes through each one in a For loop and sets the particle I have in the blueprint to visible.

Screen Shot 2016-05-12 at 12.46.06 PM

Here is how I have the simple level set up:

Screen Shot 2016-05-12 at 12.46.23 PM

The plant blueprint just has the plant mesh in there. The tree one has a particle I made and I set visible on the lower right hand side to off. That way I can set it to on in my level blueprint.

Screen Shot 2016-05-12 at 12.46.51 PM

Here’s how to turn a blueprint on and off:

Screen Shot 2016-05-12 at 2.55.58 PM

Making a countdown + Game Instance BluePrints

I want to make a countdown clock that stores its time between levels. For example, say a player has 200 seconds to search 4 different levels for one object. Usually, if I stored the time in a Player blueprint, it would reset when I went into the next level. To prevent this I need to create a GameInstance Blueprint that stores my variables that I don’t want to reset on starting the next level. This is obviously also very useful for player health, items collected, etc.

Below you can see my setup. To create the GameInstance I clicked the green “Add New” button and made a Blueprint Class. It’s not a “Common” class so I folded down all and then did a search for GameInstance. I also need to set it in the Project Settings under Maps & Modes at the bottom.

In the game instance I only put one Integer variable called “INSTANCE_totalTime”and left it at 0.

instance_1

Then in the level Blueprint, on Event Tick I subtracted the Game Time in Seconds from my countdown time (CountdownFromMe…set to 100) and set it to the INSTANCE_TotalTime by casting to myGameInstance.

instance_2

I also made a widget to display the countdown on screen. I casted to myGameInstance in the widget to get the total time.

instance_3

TO FIGURE OUT ON YOUR OWN – how do you make something happen when the timer runs out? How do you stop the timer if something else happens?

Making super simple assets

Screen Shot 2016-05-05 at 10.33.46 AM

Here I’m making a very simple forest using transparent png files from photoshop. First I drew the files in Photoshop with a transparent background. You can use these terrible drawings as examples if you’d like.
plant

tree

For the tree (for the plant, see video) I went into Blender and just made a simple Plane under the “Create” tab on the far left. I rotated it twice by doing “r” “x” “90” click and then “r” “y” “90” click. This made it facing upright. Then In the tab in the bottom I went from Object Mode to Edit mode and then went into Mesh, UV Unwrap, Smart UV Project. This gives Unreal a map to apply the texture to.

Screen Shot 2016-05-05 at 10.35.31 AM

Screen Shot 2016-05-05 at 10.35.51 AM

Then I exported the plane as an .fbx file. In the export settings I ticked “Selected Objects” (in case you have any extra things in your scene it will only export what you have highlighted) and I also changed Smoothing from Normal to Face. This will just prevent Unreal from giving us a small shading error. Other than those two things I left it all as is.

Screen Shot 2016-05-05 at 10.36.28 AM

I imported both the fbx and the png into Unreal.

Screen Shot 2016-05-05 at 10.22.47 AM

Here is how to setup the material. With the box on the right selected, change Blend mode to “Masked” and also tick on “Two Sided.” Then connect the top node to Emissive Color and the bottom node to “Opacity Mask.”  Then you apply your materials to whatever .fbx you imported.

Screen Shot 2016-05-05 at 10.23.48 AM

Starting from Scratch

First I made a blank project with no starter content.
step0
step1

Then I went into the project settings and set up how I wanted to move around in the scene. This is mostly copied from the first person example that Unreal provides. I took out the mappings for a game pad since I just want to use this project on a computer. This is in the input section of project settings. I created events for Jump (with the spacebar that I forgot to unfold there), Moving forward and back, moving right and left, turning and looking up and down.

step2.0

Then the first things I needed to add to my project were some blueprints. One is a game mode, telling the project what type of game this is and who the player character is. The next is my character blueprint that I’ll use as my game character. I set that up first:

step3.1

In the myCharacter Blueprint, in the Event Graph, I set up those axis mappings from the project settings. These events wouldn’t exist if I didn’t put them in first. This is more or less copied from the first person demo from Unreal. If you’d like to add game pad controls you can check that project out and add those in. Here I’m just setting up some movement input based on the mappings I set in the project setting.

step3.2

Then in the same blueprint, in the viewport, I added a camera to my character so it can see. I also checked “Use Pawn Control Rotation” so that I’m able to look up and down. Otherwise the camera would stay front facing.

step4

Now that my character is all set up I need to tell the game mode to use it. I opened up the myGameMode blueprint and just set Default Pawn Class to myCharacter.

Then I created some extremely simple materials. To get the color I right clicked and typed “constant 3 vector” and then made this green color that I then connected to “Emissive Color” since I have no lights in my scene. Emissive colors will show with no light.

material

Here you can see everything added. 4 materials, some cones and cubes and cylinders. Also – don’t forget to add a PlayerStart. I made the sky using a sphere. To do that make sure to turn off collision and also make the material 2-sided.


**Don’t forget to set your GameMode blueprint under the Blueprint tab in the viewport:

Screen Shot 2016-05-03 at 3.52.47 PM

fromScratch

Quick demo on PostProcessing Volumes
packaging a project

Before you package your game go into the Project Settings to set everything up.

projectSettings

In the Project section you can set a description of your game, tell it which map to start with (seen below), you can set a start movie, etc etc. For your first builds I’d recommend leaving most things at default. But you want to set up a starting map at least.

wherToSelectOpeningMap

Under the Platforms Section you can setup your game’s icon and splash screen. It’s a little different for each platform so you need to add these things separate for each build.

icons_splashScreenEtc

Finally once you have everything set up, in the File menu go to Package Project, pick a directory and build away!

where_to_build

Lastly, while your project is building I recommend you view the output log at some point. You can watch it while it builds or check it out after. Look for red and yellow lines to see if there are any errors. Try to always correct any errors that might show up. If you don’t know what something means try Googling around. If you still can’t figure it out you can always try asking for help int he forums.

outputLog

It’s always good to do a few development builds during the process of creating your game. This will enable you to test out how everything works as a final product. Sometimes things behave differently in the viewport or even when you test from the engine as a standalone game.

Your very final build can be a Shipping build so the file is as small as possible. Then zip it up and host it online somewhere. You can use dropbox or mega.co.nz for example, or if you want to share your game with the world http://www.itch.io. Share the link with some friends so they can help you test.

Intro to Arrays and Text Variables

showingDialogue

In this example we’re making a rock that can talk to the player and offer random hints where to find coins.

rockBP_viewport

Here is the initial setup in the viewport. This is an actor blueprint.

rockBP_initialSetup

The first scripting is to set everything up so we don’t have to always create a widget and cast to the ThirdPersonCharacterBP every time we need to. Notice I also added a text variable (light pink) caled talking_array. I clicked on the pill shaped icon in the right and turned it into an array. Once I compiled my blueprint I could add as many sections to the array that I wanted. Here I added four clues and the last section just acknowledges the player found all the coins already so no new clues are needed.

rockBPOverlapEvent

Above is the overlap event. If the player has less than the required amount of coins, a random section of the array is sent to the player’s text variable. If the required amount is found, then that only the last part of the array is sent to the player. Then the widget is called up.

PlayersVariables

Here are the ThirdPersonCharacter variables. These are her so that in the widget we can cast to them and bind them to the widget text (below).

designerFromUMG

graph_from_UMG