Before we get into the technical stuff, let’s play some text based games by Porpentine Charity Heartscape. What makes these visually simple games so interesting and intriguing to play?
Widget Blueprints are what you use to display text,a HUD, a user interface, menus, etc.
You find them in Add New –> User interface –> Widget Blueprint. Here is an example:
To call up the widget you need any event. Here I’m using a trigger overlap. You can use Begin Play if you want it to be up the entire level for example. Here it is only up for two seconds. If you don’t want it to end, just take out the Delay and the Remove from Parent node:
Make a new Blueprint. So far we’ve made a character blueprint and a GameMode blueprint. This one will be an Actor Blueprint. Actor Blueprints are not controlled. They are typically static objects placed around the level.
Here we’ll make a token. When the player overlaps with it, the player’s score goes up by one, particles are emitted in the location and the token disappears. Also, right before it goes away, it checks what the player’s score is. If the score is 10 the text YOU WIN is printed to the screen.
In the BP Viewport I first added a Sphere collision. Then I added a regular Sphere and put it inside the collision as you can see below.
In the Event Graph tab I added an event for if anything collides with this Blueprint. Below is the code with comments.
Then you can place as many of these tokens around your level as you like.
For the Particle Emitter – feel free to tweak it all you want. But at the very least, under “Required” you need to give it a material. You can just use one of the emissive materials you’ve already made or make a new one:
Now you have a basic level setup. Maybe some walls, a floor to walk around. Let’s make a character class to explore the world you’ve made thus far.
First we’re going to set up the input keys in the project settings in the edit menu. We’ll do space to jump, and W/A/S/D to move forward/back/left/right. No mouse functionality yet but you can do that on your own if you wish by taking a look at the 3rd person demo project.
Next we’re going to add our first two Blueprints. Go to the green Add New button and click Add Blueprint Class.
Add a GameMode class and a Character Class.
Let’s open up the Character Blueprint first. You can name yours whatever you’d like. We’ll go to the EVENT GRAPH tab first. First let’s add our “Events” for movement. An event is a red node with only one white arrow coming out of it. This is what triggers things to happen. In this case we want to trigger events for when the user presses W/A/S/D or the space bar.
Here you can see I made 3 events. One for jump, one for moving forward/back and one for moving left/right.
Make sure to connect the axis value (1 or -1 that we set up in Input) to the scale value and also be sure to set the direction. In unreal Z is up and down, X is forward/back and Y is left/right. So for ForwardAndBack event put a 1 in the X direction and leave the other two at 0. For Left and Right put a 1 in the Y value and leave X and Z at 0. Jump is easy as there is already a built in movement for that.
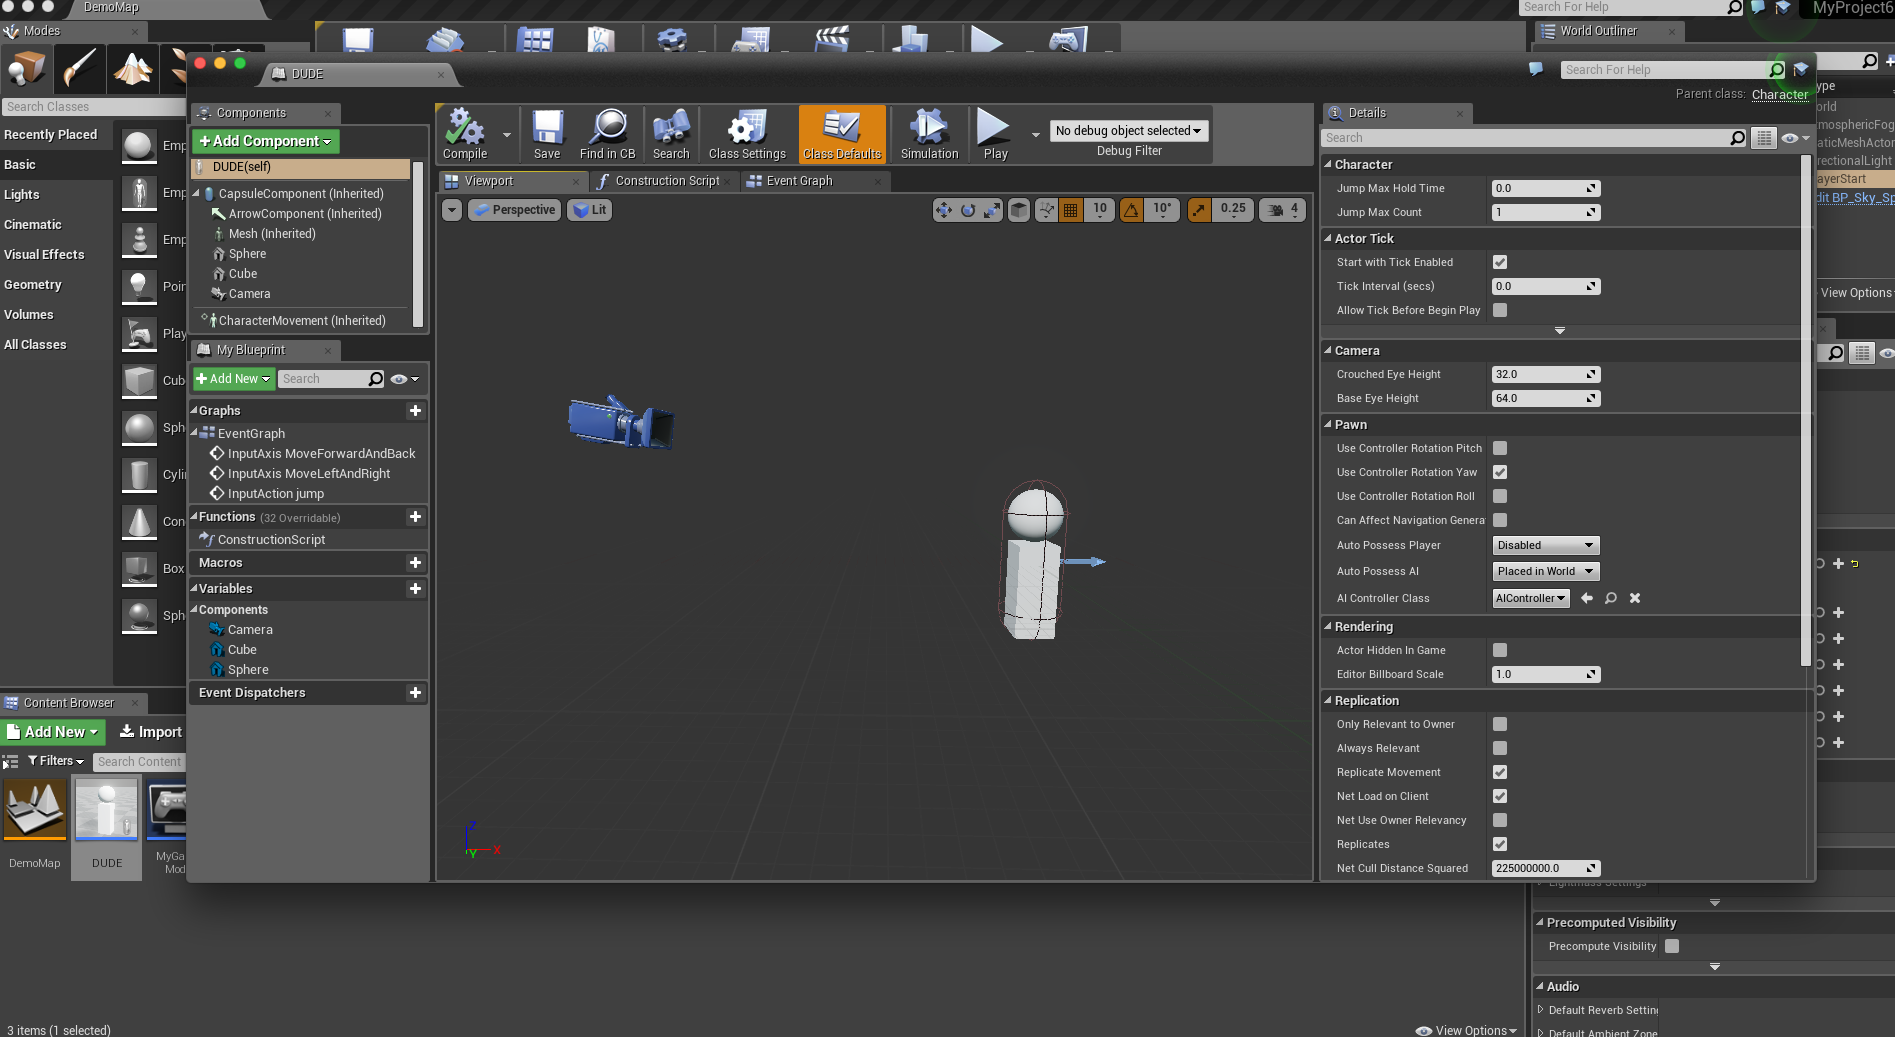
Now let’s go from the event graph tab to the VIEWPORT tab of our Character Blueprint. Add a camera so you can see and maybe some basic shapes to make your 3rd person character. Alternatively if you want your game to be first person, just add the camera where the eyes would be. A little above the arrow.
Lastly we need to set up our GameMode. This is easy. Just set your Default Pawn Class to be the character you just created. In my case I named my character DUDE. Then go in the World Settings tab of your level and be sure to set the GameMode Override to the GameMode you created. If you don’t see the World Settings tab you can find it in the top menu under the Window entry toward the bottom.